Leaderboard


Popular Content
Showing content with the highest reputation on 10/03/2015 in all areas
-
My thoughts exactly1 point
-
Switched on the map this morning - and it read! Must have been a gremlin. Back to normal now. Jim1 point
-
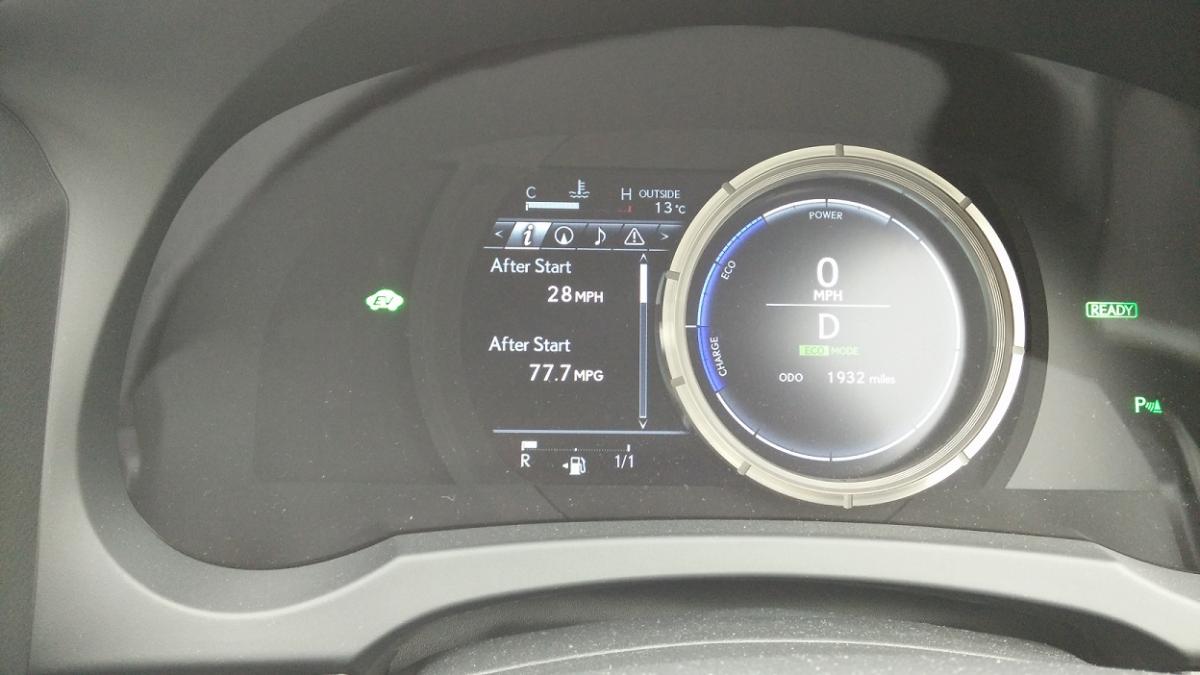
Me & the Mrs made a 20 mile round trip this morning and when I looked at the info screen in clocks I was astonished to see 77mpg!! The average normally reads around 46mpg. Big achievement!! Simon
 1 point
 -
I don't know if this has any relevance but I've been told by a mechanic at work who had a gs430 that overtightening the wheelnuts can cause the discs to warp and should be tightened to the correct torque at all times.1 point
-
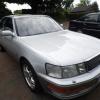
Another fairly high mileage one for sale in Dundee is my old car. I traded it into a main dealer in Perth last month and now on eBay . It is on 181k miles . Anybody thinking about it I am happy to give the low down on the car.1 point
-
Much as I'd like updated CD's, I now find my phone (CoPilot) more up to date, and better ( safety cameras included ).1 point
-
Just put this combination 86271-24122 into the map update site and got this part number PZ445-X01EU-11 Update Disc Europe 2011 DVD (Navteq 2010Q4) as the latest map, so you're better of with a Grmin or TomTom.1 point
-
Mine shudders very slightly when the air con cuts in, are you sure it's not just that?1 point
-
C-best does things such as enable / disable Window & Sunroof opening by using the remote key etc. It would cost about £20 to get the cable required for you to do this yourself (would work for both your RX's) assuming you have a Windows laptop... Your Lexus dealer may tweak a setting for you when you have work done or if they are feeling generous! As for all the settings, these were supplied on a checklist sheet that a customer got with their new car. They completed the sheet and a Lexus tech would enter the settings. I'll see if I can find an example of one somewhere for you!1 point
-
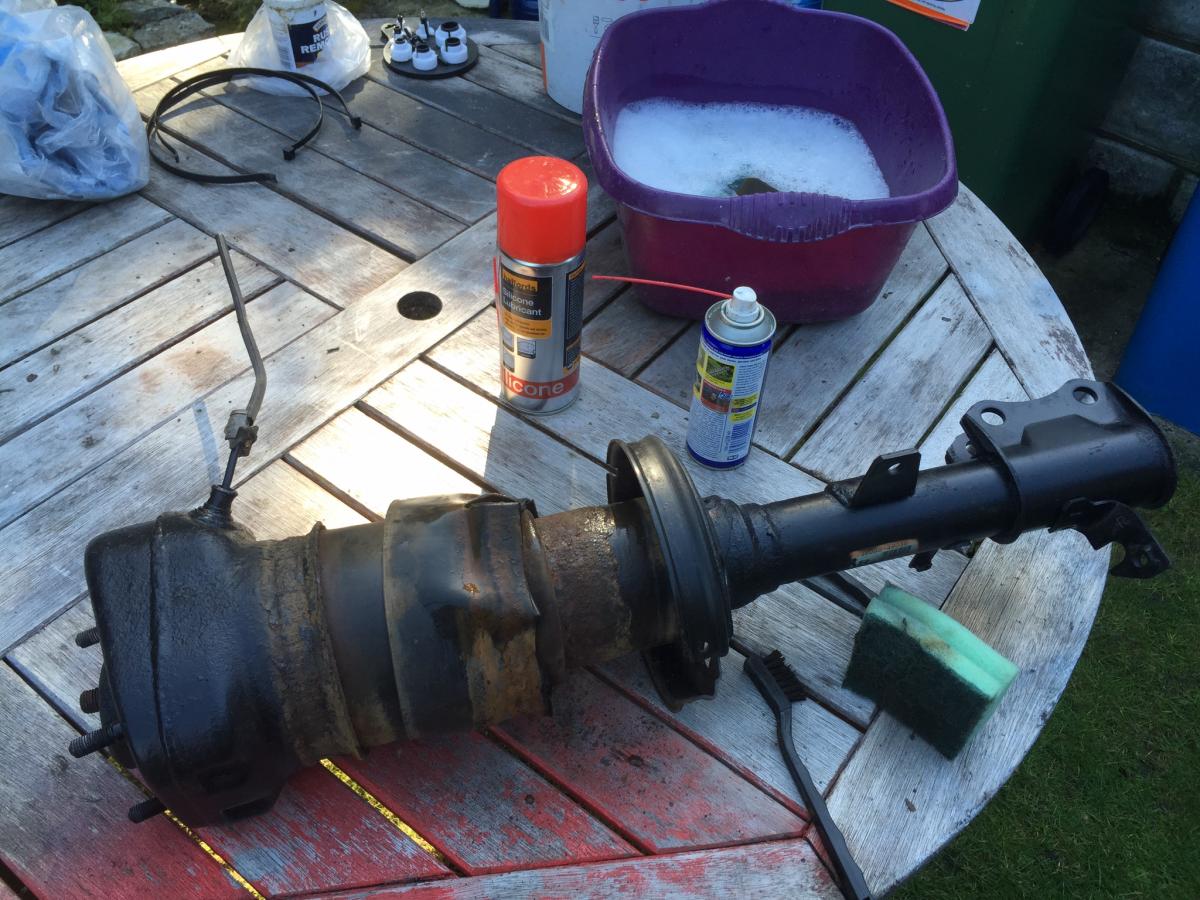
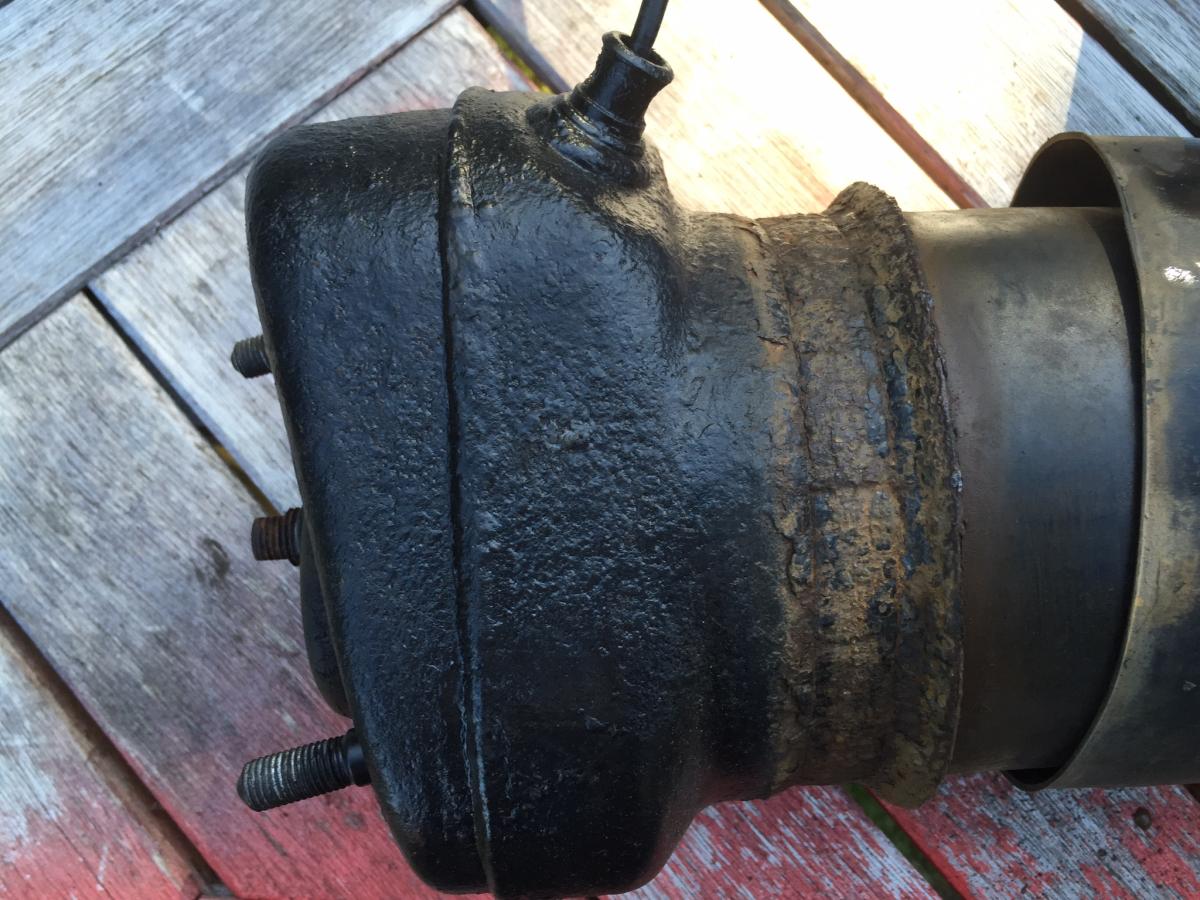
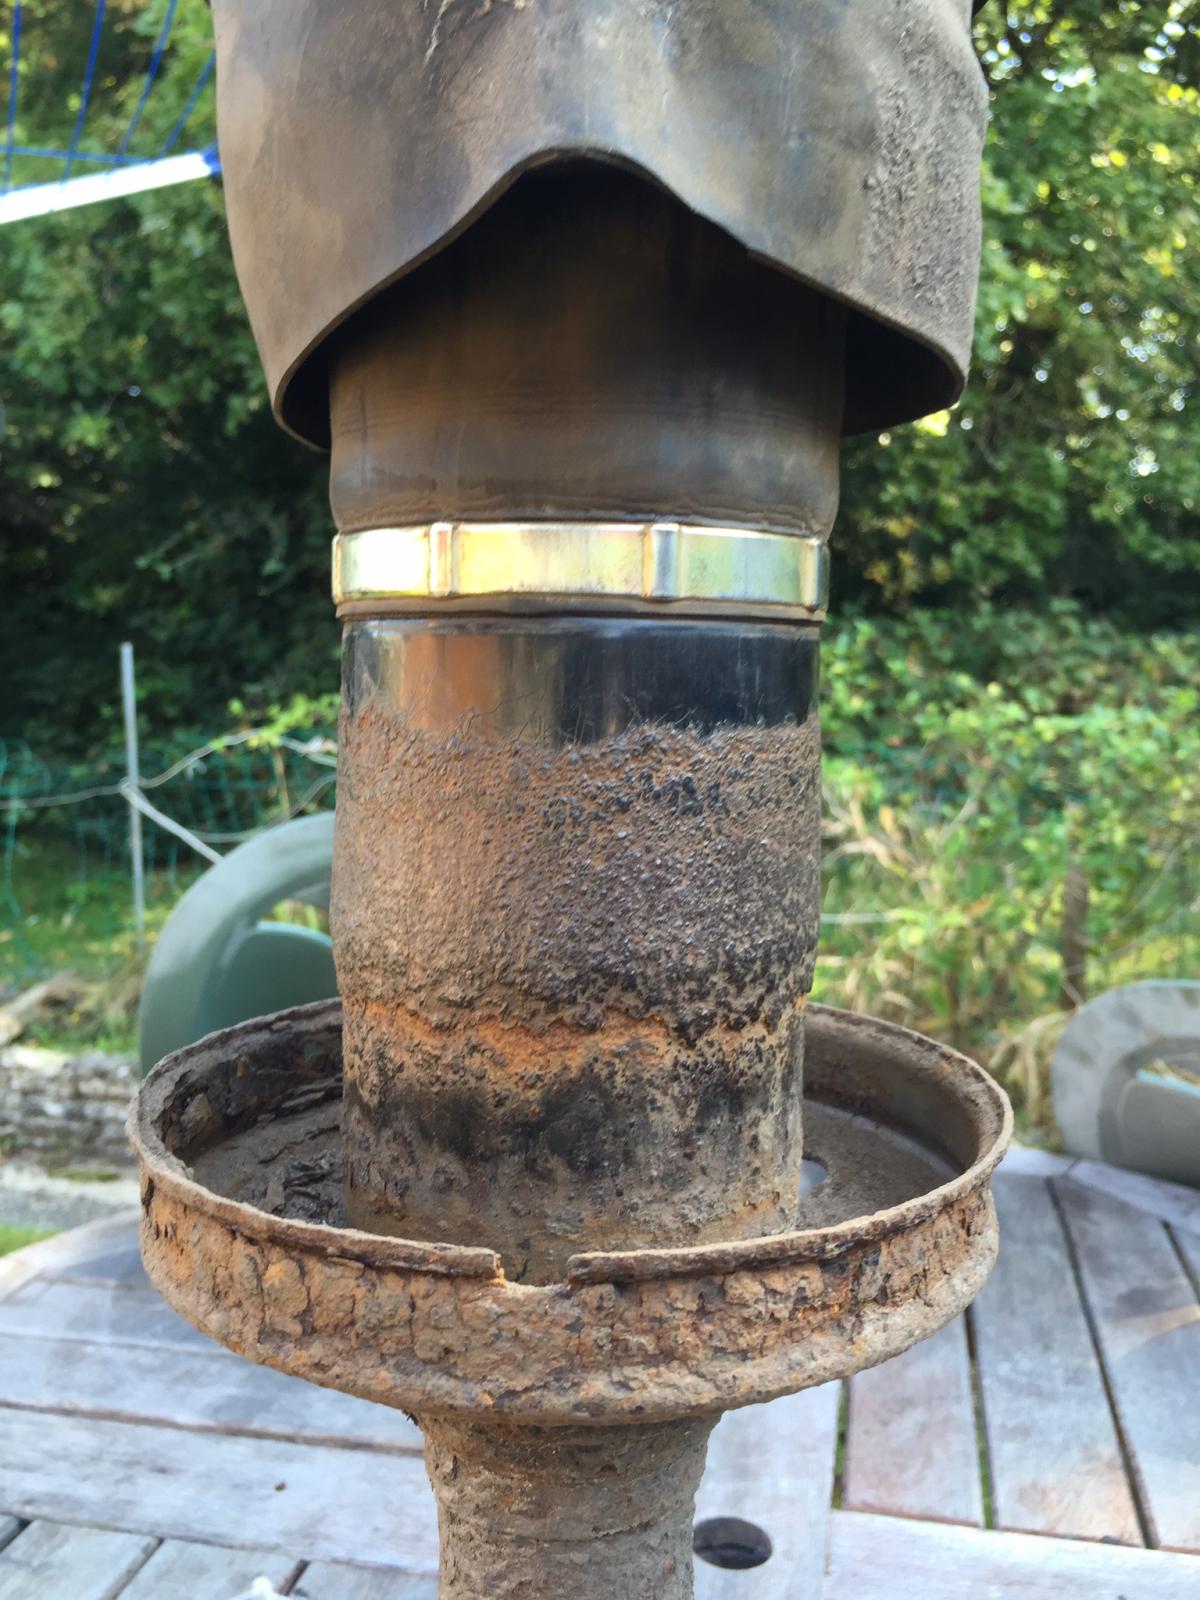
Yep, it's a heck of a difference Piers, and it is so nice not bottoming out on pot-holes and drain lids again! It cost about £10 a corner/strut to do this, and about 2 hours of time per strut including removing the old one and fitting the refurbed unit. The second hand struts cost me £450 inc. shipping for all 4, in the end! None of the bags on any of the struts (including my nasty looking old one) have holes or look worn (at least externally) - I think my old one failed as the rust killed so much metal at the top of the strut where the bag is joined, that air was gushing out. I will check the old unit for leaks with soapy water to see if my suspicion is confirmed!1 point
-
Thank you all. Booked in to Lexus this week. Will let you know how I get on ...1 point
-
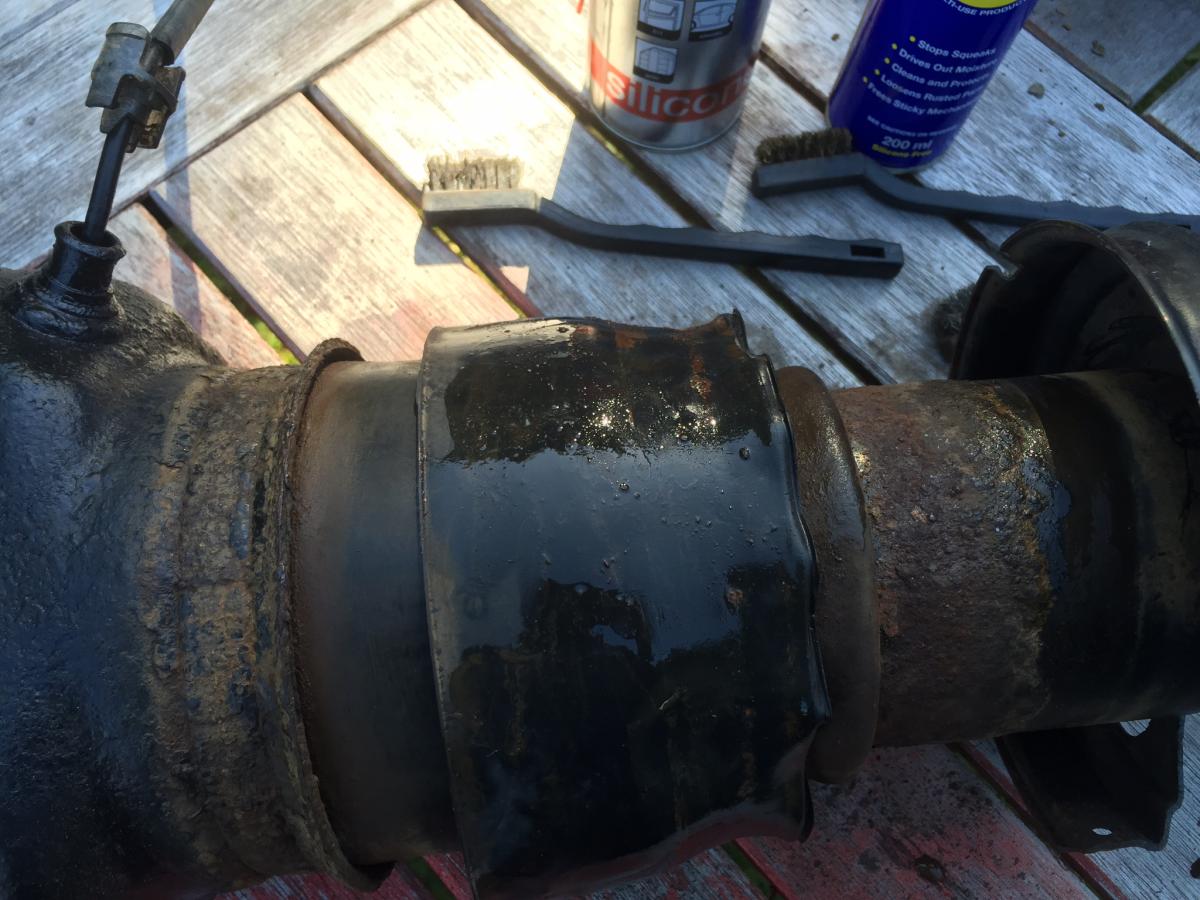
And now to the refurbed part, thanks Gary in Wales for eBaying them due to a failed compressor! Before beginning the refurb, order some more plastic air tube clips from the dealer - you cannot reuse this part! See my previous post on using an A/C / Fuel Hose removal tool to get the old air line out. Also, make sure you have some spare stainless steel bolts available, you will most likely break or strip the head on them when removing! The OEM drop/stabiliser links also suck as they use a hex bit to stop the screw thread rotating, you will most likely have one end strip on you and end up cutting off the bolt, thereby requiring a new drop link (£12 online). I am lucky enough to have a compressor, these makes leak testing the new/second hand/old struts easier but you can fabricate an adaptor and use a bicycle pump if need be... Beginning the refurb: Tape off the air inlet to the strut. Stand the strut up on a table and remove the outer "accordion" style rubber cover from the strut by sliding it down and over the large plate half-way down the strut leg, be gentle removing the large cable ties, a blast of compressed air can clear the locking ends of dirt so a small screwdriver can release the latch holding the tie on. These bits are expensive from dealer, if you have to replace them, source from eBay/Amazon - they aren't special just normal extra long cable ties! There is a rubber collar around the top of the strut that won't come off, with some warm soapy water and a washing up sponge that has a plastic scourer, clean the collar of impregnated rust, then fold it back in on itself, in half and let it rest on the plate, out of your way. Using a wire brush and sanding flap wheel drill attachments, remove all loose rust, including rolling up the air bag and getting all the rust underneath it off the piston that the bag rolls over, and also from the metal chamber at the top of the strut. Some parts of the rust/dirt can be fairly thick, a gentle tap with a light hammer and a sacrificial screwdriver will loosen this surface layer before wire brushing/sanding can help! At the top of the strut, there is a lip that protrudes at the bottom of the air chamber, make sure all loose and sharp rust is removed without taking too much of the lip/edge off. Roll the air bag back up the strut from the middle of the strut leg until you see the metal swaged collar that holds it to the air piston. Remove all loose and surface rust around the piston, then thoroughly clean the impregnated rust from the air bag using a sponge and warm/hot soapy water, this takes the most elbow grease!!! Dry all parts thoroughly with an old tea towel. Using a small hand wire brush, remove surface rust from the large plate around the middle of the strut. Mask up the air bag and give the strut several coats of spray "direct to rust" Hammerite gloss style paint - leave overnight to dry somewhere warm-ish. Once paint is dry, use silicone spray/lubricant on the air bag, spray liberally, then rub in with a cloth, then give it a light misting. Start at bottom the the air bag where the metal swaged collar is located, lube it, then roll it down in stages luring as you go until it is rolled over the piston. Use silicone spray on the rubber collar that you folded over on itself earlier, making sure you get both sides and slide it back up the strut and half over the lip on the air chamber. Wash the "accordion" style outer rubber cover, inside and out, the clean/lubricate once dry with more silicone spray and a rag, wait until you fit it back onto the strut before spraying silicone on the outside of the cover as it will be slippy and difficult to grip! Reattach the cable ties. Unplug air tube, and GENTLY clean the rust from the outer and inner edges. You can take out the White/clear plastic clip with the two teeth on it, we don't want rust getting inside the bag. A cloth, prodder and more silicone spray can help to clean in the hole but don't damage/bash/gouge the little rubber o-rings inside. I had the parts to replace these but was worried that dirt or rust may be loosened and stick to the new o-rings and lead to air leaks (besides if I have an air leak as I didn't change them, I still have the bits!) If you are fitting this refurbed strut within a few hours to your car, then remember to clean your air hose of any loose dirt with a rag and more silicone spray then tape it off to keep it clean, put some white grease on the new plastic "2 tooth" clip n the side facing the o-rings and gently edge the clip into the air tube on the strut, using a small screwdriver to keep it neat and lined up. When ready to pop the air hose into the strut, gently wipe it with a bit of white grease before sliding it in, where you will feel/hear the plastic clip lock onto it. If not fitting the strut to the car for a day or more, tape the air hole up. The bag doesn't like moisture inside it!
1 point
-
they create no additional power1 point
-
You might need to turn the stereo up a notch or two as well1 point
-
ooh ITBs - not only howl, drink a lot more too :)1 point
-
When I change discs on my cars, I have been spraying the hat and hand painting the lip as it keeps that horrible rust at bay. If the owner of the car in Colin's pic had caught the above soon enough, he could have refurbed the calliper and wire brushed the disc. As things stand, he/she's probably had to have new discs & pads and hopefully sorted the calliper! Quite costly, versus an sunny afternoon's elbow grease...1 point
-
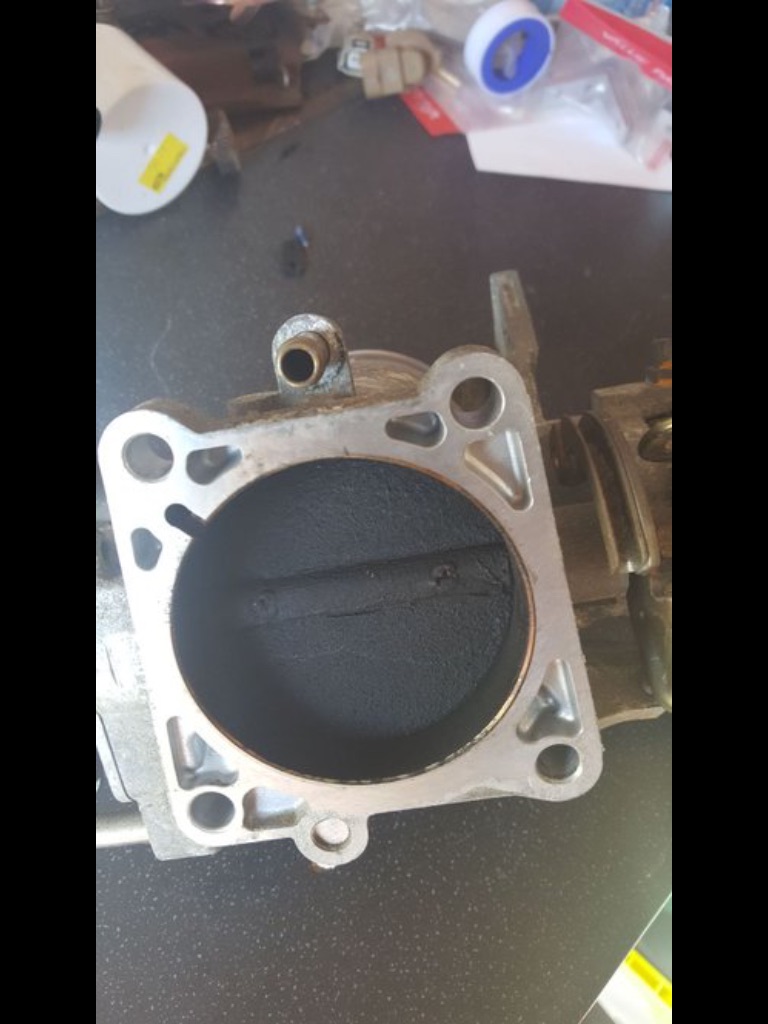
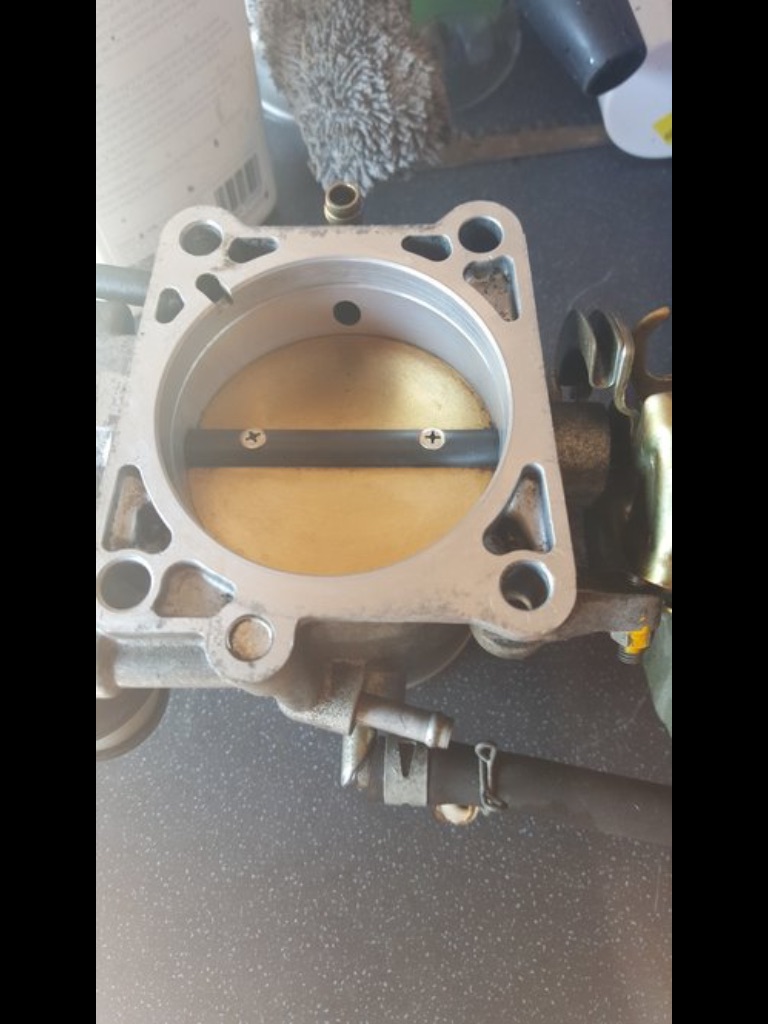
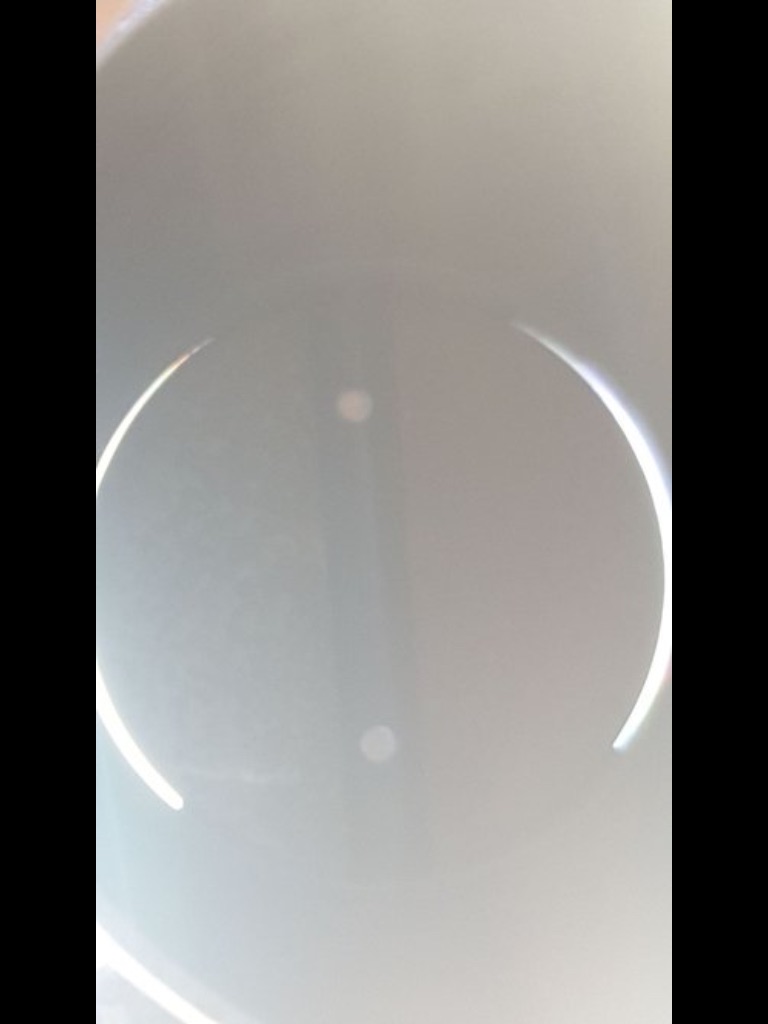
Removal was simple Very clogged up and there was zero visibility through the body A good clean with some generic parts washer fluid, then some carb cleaner and a blow through. And finally a shot looking through the body to show the gap round the butterfly. Looks like an eclipse.
1 point
-
Sorry Brio, I missed your post. Yes, I have partial success with this issue in that I have a temporary solution which is not ideal but fine fttb. I've left the air-sus and headlamp levelling fuses out to prevent the "failsafe" dragster/superhard supension situation and have adjusted the ride height and absorber damping manually. To answer you question: 1. You can adjust the damping by turning the rod in the absorber unit. You will have noticed that you have to turn the actuator by a similar amount to enable you to refit the actuator. 2. Assuming you have left the air-ride system operational, any manual adjustment you have just made will be over-ridden straight away by the system. 3. The trade-off for operating it manually (ie. removing the fuse) is that you lose the anti-dive/squat/roll capabilities so when you brake the nose dives, when you corner the car rolls and when you land after going over a hump the whole car may bottom out. Having said that: 1. I've been driving for weeks like this with minimal disruption - I'm a very gentle driver, and 2. There has been no reduction in my ride height showing that the air side of the system is sound. There is an alternative to the method of manual adjustment of the damping we have just mentioned - this is paricularly helpful for the rear as it saves removing the seating etc. This method involves applying battery voltage to the actuators' terminals on the ECU plugs. This has to be done in sequence as there are several solenoids in the actuator and need to be enlivened in the correct order. Full details are given in the worshop manual which is amazingly helpful when you find the relevant page. Hope this helps. Kind regards, Mike1 point